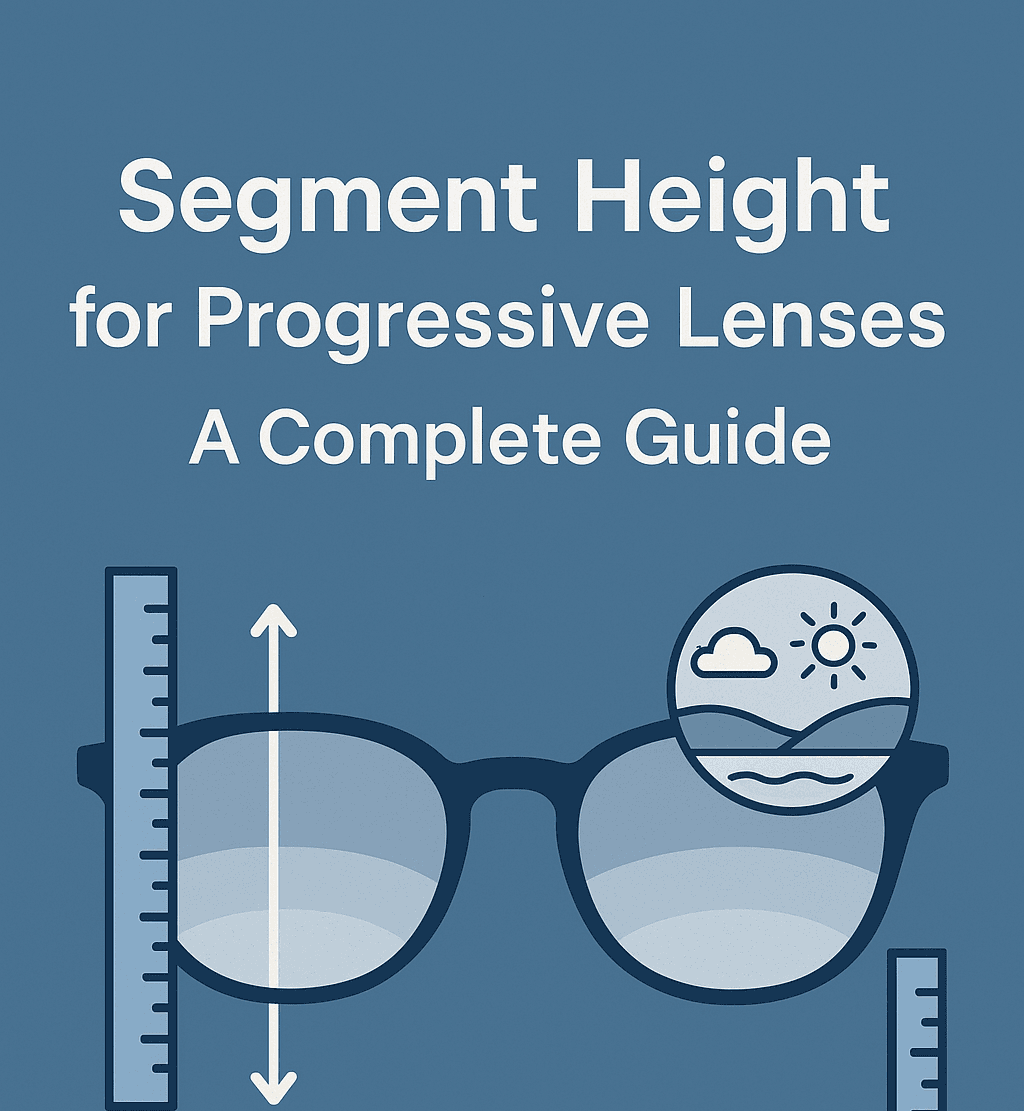
Short Answer: Segment height — more precisely called fitting height for progressive lenses — is the vertical distance in millimeters from the bottom inner edge of the frame to the center of the patient’s pupil. It tells the lab where to position the fitting cross on the lens blank, ensuring the distance, intermediate, and near zones align with the wearer’s eyes. Typical fitting heights range from 14mm to 25mm; an error of even 2mm can measurably degrade the visual field through a progressive lens.
Terminology note: The term segment height originates from bifocal orders, where it marked the top edge of a discrete near segment. For modern progressive-addition lenses (PALs), the technically correct term is fitting height or fitting cross height. Because most lab order systems and training materials still use “seg height,” both terms appear throughout this guide.
Segment Height vs. Fitting Height: Why the Terminology Matters for PAL Orders
Progressive lenses do not have a visible near segment — they use a continuous power gradient from distance at the top to near at the bottom. So strictly speaking, “segment height” is a misnomer for PALs.
The practical risk: if you write “seg height” on a lab order without clarifying your datum point, the lab may interpret it differently depending on their software. Some measure from the bottom of the frame; others from the lowest usable point of the lens blank. A mismatch of even 1–2mm shifts all three optical zones and can cause non-adaptation.
Best practice for ordering:
- Label the field Fitting Height (mm) on your order form, with a note: “equivalent to seg height in your system”
- Confirm with your lab whether they measure from the bottom of the frame or the lowest edge of the uncut lens
- Confirm whether they use pupil center or fitting cross as the upper reference point
What Segment Height (Fitting Height) Controls in a Progressive Lens
Fitting height determines where three critical zones land on the finished lens:
| Zone | Location Relative to Fitting Cross |
|---|---|
| Distance zone | Above the fitting cross |
| Intermediate / corridor | Below the fitting cross, ~12–16mm of progression |
| Near zone | At the bottom, accessed when the wearer looks down |
The fitting cross is the engraved reference mark on the lens blank that the lab aligns to the pupil height measurement you provide. If the fitting cross sits too low, the wearer’s resting gaze falls in the intermediate zone and distance vision is blurred. If it sits too high, the near zone is pushed below the frame and near vision is inaccessible.
Corridor Length and Its Relationship to Fitting Height
Corridor length is the vertical distance from the fitting cross to the point where the full near-addition power is reached. Selecting the right corridor length depends directly on the fitting height you measure.
Standard corridor options:
| Corridor Type | Length | Best Use Case |
|---|---|---|
| Short | 8–11mm | Small frames with limited B-measurement |
| Standard | 12–16mm | Most adult frames; comfortable adaptation zone |
| Extended | 17–19mm | Patients sensitive to peripheral distortion; tall frames |
A useful planning rule: the near zone needs at least 5mm of usable height inside the frame. So if your fitting height is 18mm, the maximum practical corridor is 13mm (18mm minus 5mm minimum near zone). Choosing a longer corridor on a small frame pushes the near zone below the rim — the wearer cannot access it.
Minimum frame B-measurement for standard progressive designs: 28mm. Frames shallower than this restrict corridor options and increase the risk of non-adaptation.
How to Measure Segment Height: Step-by-Step Procedure
Fitting height measurement takes less than two minutes when the technique is correct. The most common source of error is not the tool — it is patient posture and the practitioner’s eye level.
Manual Measurement (Ruler and Marker)
- Fit and adjust the frame first. The frame must be adjusted to its final worn position before any measurement is taken: correct pantoscopic tilt (approximately 7–10 degrees), minimal vertex distance, and face-form angle adjusted for the patient’s face width. Measuring on an unadjusted frame produces an incorrect fitting height.
- Seat both practitioner and patient at the same eye level. Position yourself directly in front of the patient with your eyes at exactly the same height as theirs. Even a small height difference causes a parallax error in your mark placement.
- Ask the patient to look at the center of your nose or a target at eye level. Primary gaze — looking straight ahead, not up or down — is the correct position for this measurement.
- Place a small dot at the center of the pupil on the demo lens. Use a felt-tip marker or pupil marking tool. A corneal reflex method (using a pen-light to find the bright reflection at the pupil center) reduces subjectivity.
- Measure from the inner bottom edge of the frame to the center of your mark. Use a millimeter ruler held vertically against the lens. Read to the nearest 0.5mm. Do not measure from the outer rim — use the inner (lens-touching) edge of the frame.
- Verify symmetry. Unless the patient has anatomically unequal eye heights, the two measurements should differ by no more than 1mm. If they differ by more than 1mm, re-mark before recording.
Posture adjustment: For patients with pronounced kyphosis (hunched posture), raise the fitting height by 1–2mm. For patients who habitually tilt their head back, lower it by 1–2mm. Measure the patient in their natural, comfortable posture — not in an artificially upright position.
Digital Measurement (Photo-Based Tools)
Photo-based measurement systems like Optogrid capture the patient’s facial geometry from a calibrated photograph and calculate fitting height automatically. The system detects the pupil center coordinates and the frame’s lower edge position, outputting the measurement without manual marking.
Accuracy comparison:
| Method | Typical Accuracy |
|---|---|
| Manual ruler with marker | ±2mm |
| Pupillometer (professional digital) | ±0.5–1mm |
| Photo-based digital measurement | ±0.5mm |
A manual ruler introduces variability from marker placement, parallax, and ruler angle. Digital photo-based tools remove the parallax factor and automate the measurement from a single image — useful for teleoptometry workflows and high-volume dispensing.
For remote fitting workflows, see the complete guide to remote PD measurement technology for opticians and what the data from 14,904 real-world PD measurements reveals about measurement distribution.
Typical Fitting Height Ranges by Frame B-Measurement
The B-measurement is the vertical height of the lens shape. It sets the outer boundary for how large a fitting height is physically possible.
| Frame B-Measurement | Typical Fitting Height Range | Notes |
|---|---|---|
| 28–30mm | 14–18mm | Short corridors required; near zone is tight |
| 31–34mm | 16–20mm | Standard corridor possible; good design flexibility |
| 35–38mm | 18–22mm | Full corridor selection available |
| 39mm+ | 20–25mm | Extended corridors viable; suited for high additions |
These ranges assume the fitting cross falls near the center of the B-measurement, which is the typical design assumption for most PAL blanks. Individual patient anatomy (high or low pupil position relative to the frame) can shift the actual measurement toward either end.
Common Fitting Height Mistakes and How to Avoid Them
Measuring before frame adjustment
The frame must be fully adjusted to the patient’s face before measurement. A frame that slides down the nose after measurement will read 2–4mm lower in actual wear — shifting the entire optical map downward.
Incorrect practitioner eye level
If you are seated higher than the patient, you will mark the pupil too low. If lower, you will mark it too high. Always adjust your stool or the patient’s chair so your eyes are exactly level with theirs.
Ignoring minimum frame depth
Fitting a patient with high addition (2.50D+) into a 26mm B-measurement frame leaves insufficient room for both corridor and near zone. Verify the frame’s B-measurement against the lens manufacturer’s minimum fitting height specification before the patient selects the frame.
Not accounting for natural posture
Taking the measurement with the patient sitting unnaturally upright overstates the fitting height. Measure in the patient’s relaxed, habitual posture.
Overlooking asymmetric eye heights
Patients with facial asymmetry may need different fitting heights for each lens. Record binocular measurements separately; do not average them.
Segment Height vs. Pupillary Distance (PD): Two Measurements, One Alignment
Fitting height (SH) and pupillary distance (PD) together define the optical center of the lens in two planes:
| Measurement | Plane | What It Controls |
|---|---|---|
| Fitting Height (SH) | Vertical | Where the distance-to-near gradient is positioned |
| Pupillary Distance (PD) | Horizontal | Left-right centering of each optical zone |
Both measurements must be accurate for a progressive lens to work correctly. A centration error of 2mm on a +1.50D addition lens can reduce the horizontal binocular field by 40%. A 3mm error on a +2.75D addition can reduce it by as much as 75%.
For a full explanation of PD measurement, including monocular vs binocular PD, see our guide to pupillary distance measurement.
Choosing Frames That Work With Progressive Lenses
Not all frames are compatible with progressive lenses. Before a patient selects frames, verify:
- B-measurement of at least 28mm — the minimum for standard progressive designs to fit fully inside the lens shape
- Minimal wrap angle — high-wrap (sports-style) frames require free-form compensation; measure vertex distance and face-form angle for the lab
- Stable fit — a frame that moves on the patient’s face will shift the optical zones unpredictably; adjustable nose pads help maintain a consistent fit
For guidance on frame selection relative to face shape and frame geometry, see our post on prescription lenses types and how to choose them.
After Dispensing: Adapting to Progressive Lenses
Even accurate measurements can require follow-up. First-time progressive wearers typically need 1–2 weeks to adapt to the lens zones. During this period:
- Advise patients not to switch between old single-vision lenses and new progressives — it prolongs adaptation
- If the patient reports blurred distance vision in primary gaze, verify the frame has not slipped down (check fitting height in wear position)
- If the patient cannot find a clear near zone, confirm the fitting height was not measured too high
Adaptation failure beyond 2 weeks warrants re-verification of the fitting height, PD, and frame adjustment before remaking the lens.
FAQ: Segment Height for Progressive Lenses
What is the typical segment height for progressive lenses?
Fitting heights for progressive lenses typically range from 14mm to 25mm, depending on frame size and individual anatomy. Most adult patients in standard frames fall between 17mm and 22mm. Frames with a B-measurement under 28mm often require shorter corridors and lower fitting heights.
What is the minimum fitting height for a progressive lens?
Minimum fitting height varies by lens design, but most standard progressive designs require 18–22mm to fit properly. Below the minimum, the near zone may fall outside the frame and the patient will not have usable near vision. Always check the specific lens manufacturer’s minimum fitting height specification.
How much distance zone is needed above the fitting cross?
There should be at least 10mm of distance vision zone above the fitting cross. Less than 10mm may not provide sufficient distance vision and increases the risk of non-adaptation.
What is the ANSI tolerance for fitting cross height?
Per ANSI Z80.1, the fitting cross height for each progressive lens shall be within ±1.0mm of the specified value. The difference between the fitting cross height of the two lenses in a mounted pair shall also not exceed 1.0mm.
Can I measure segment height remotely or without a physical frame?
Photo-based digital measurement systems can calculate fitting height from a calibrated photograph of the patient wearing the selected frame. This approach works for teleoptometry and high-volume dispensing workflows. Accuracy is comparable to in-person digital measurement (±0.5mm) when the photograph is taken under proper conditions.
What happens if the fitting height is measured too low?
If the fitting cross is positioned below the patient’s pupil in primary gaze, the patient’s resting line of sight falls in the intermediate corridor rather than the distance zone. This causes blurred distance vision and is one of the most common reasons for progressive lens adaptation failure.
Is segment height the same as optical center height?
No. In a progressive lens, there is no single optical center — power changes continuously. Fitting height references the fitting cross, which is the lab alignment point for the near-distance progression. In single-vision lenses, optical center height and segment height are related but distinct concepts.
Key Resources and Standards
- iCareLabs — How to Take a Proper Segment Height
- IOT Lenses — Advanced Insights into Progressive Lens Design
- Optician Online — Accurate Fitting of Progressive Lenses
- Fittingbox — Digital PD Rulers vs Manual: Which Is More Accurate?
- OptiCampus — ANSI Z80.1 Summary
- Horizons Optical — Inset and Corridor of Progressive Lenses
Also see our related guides on pupillary distance measurement for opticians and average PD data from real-world measurements.

I am a seasoned software engineer with over two decades of experience and a deep-rooted background in the optical industry, thanks to a family business. Driven by a passion for developing impactful software solutions, I pride myself on being a dedicated problem solver who strives to transform challenges into opportunities for innovation.