
Dual PD vs. Binocular PD
Dual PD is the monocular pupillary distance: the distance from the nasal bridge center to each pupil, measured separately for each eye. It is required for progressive and other position-of-wear-sensitive lenses, and recommended whenever a face is visibly asymmetric, since each lens is mounted and ground independently of the other.
Halving a binocular PD gives an approximate per-eye value. But most faces are not perfectly symmetric around the nose bridge, so the two true monocular values usually differ from that half-value by a millimeter or more. For progressives or high prescriptions, measure Dual PD directly instead of splitting a single number in half.
| Measurement | What It Is | When To Use | Lens Types |
|---|---|---|---|
| Binocular PD | Distance between the centers of both pupils | Low-prescription single-vision lenses | Single-vision, general purpose |
| Dual PD (monocular) | Distance from the nasal bridge center to each pupil, measured separately per eye | Progressive lenses, high prescriptions, or visibly asymmetric faces | Progressive, multifocal, high-index, safety/occupational |
Step-by-Step Guide for Optogrid
Optogrid calculates PD, Dual PD, and Segment Height (SH) from a single patient photo in the browser at app.optogrid.com. This step-by-step guide walks through the full workflow for precise eyewear measurements.
Optogrid processes the photo in three stages: you set a reference object for scale, mark each pupil and the nasal-bridge center, and (for SH) mark the bottom edge of the frame. The app then computes PD, Dual PD, and SH simultaneously from those inputs. If you would rather measure manually first, you can measure your PD with a ruler or app before loading the photo.
Step 1: Load the Patient Photo
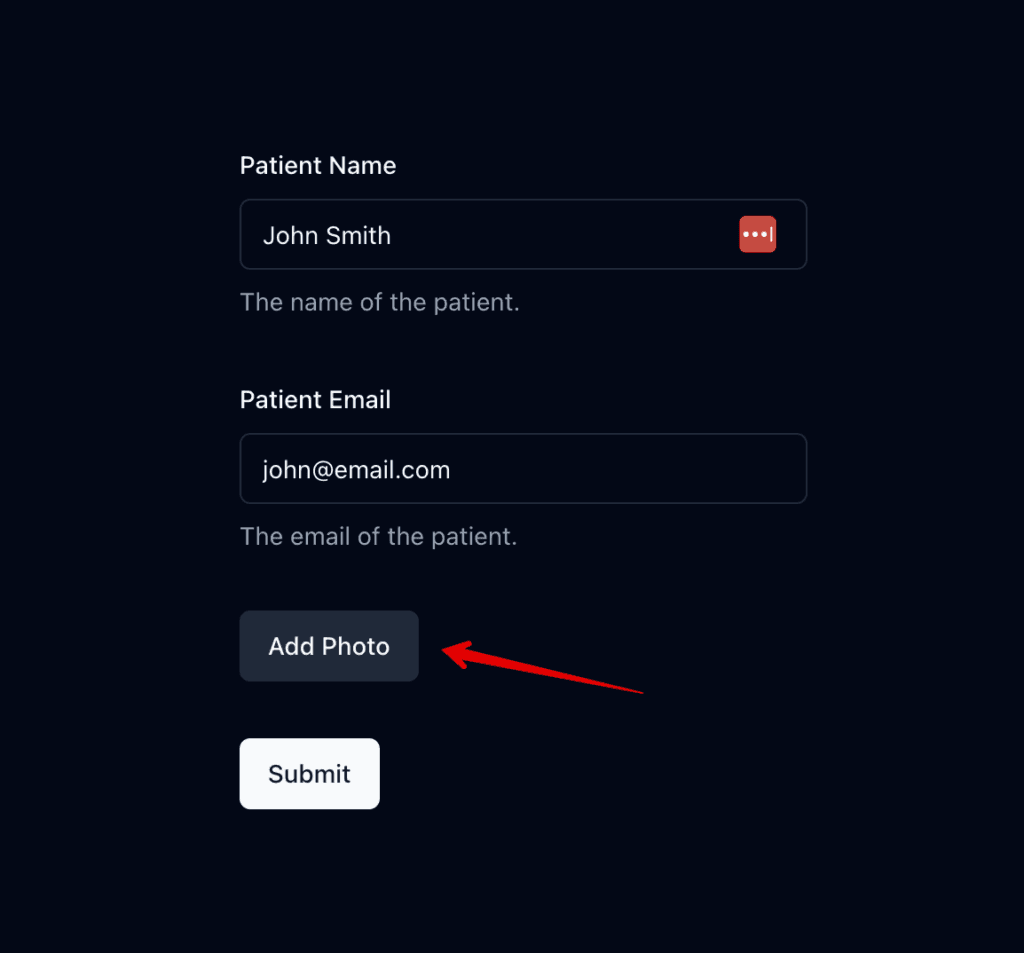
Begin by uploading the patient’s photo into the Optogrid system. Ensure the photo is good and clearly shows the patient’s face. If your patient isn’t in the office, you can request photos from patients remotely using Optogrid’s patient link feature before this step or by email or message, which is how Optogrid supports remote pupillary distance measurement for online dispensing flows.
Step 2: Evaluate the Photo Quality
For Optogrid to work effectively, the photo must meet certain criteria:
- Distance: The photo should be taken from approximately 1 meter away. This is roughly equivalent to 3.28 feet, ensuring an optimal perspective for measurement.
- Clarity: Ensure the photo is not blurry. A clear image is crucial for precise measurements.
- Orientation: The patient must be looking straight at the camera, with their head neither twisted nor bent. This positioning is essential for accurate alignment during measurements.
The 1m distance minimizes perspective distortion of facial geometry: closer shots make the nose appear larger relative to the eyes and skew the PD reading. If the photo orientation needs correcting, you can rotate or correct the photo orientation before proceeding.
Step 3: Choose a Reference
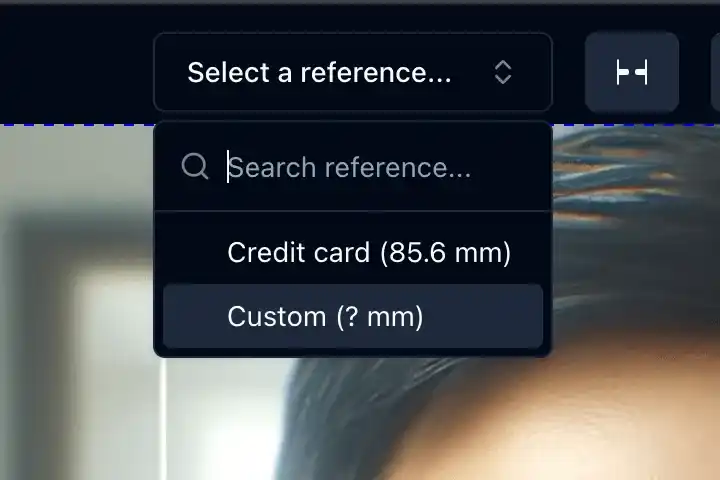
Optogrid allows you to select a reference object to calibrate the measurement scale. You can choose from preconfigured references, such as a credit card size, or use a custom reference by entering its size in millimeters (mm). See set up a custom reference object if you need a non-standard reference.
The reference object must be in the same plane as the patient’s face; otherwise the scale calibration will be off.
Step 4: Mark the Reference Points
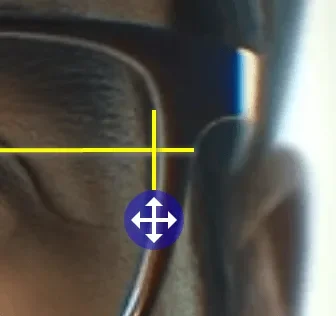
Using your mouse, click on the designated points of the reference object within the photo. This calibration step ensures the measurements are scaled correctly. If the bridge marker needs adjustment, you can fine-tune the bridge marker for greater precision.
Step 5: Locate the Pupils

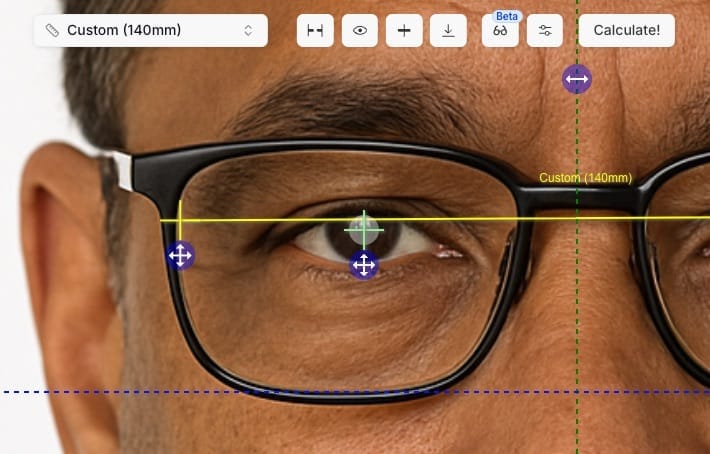
Click the “eye” button in Optogrid, then use the mouse to mark the center of each pupil. This determines the PD measurement, so mark carefully. You can adjust the crosshair placement if necessary for precision.
Step 6: Measure Dual PD
Select the “center” button. This step measures Dual PD, which ensures lens alignment with the patient’s eyes.
Dual PD is the monocular distance from the nasal bridge to each pupil. It is required for progressive lenses and recommended whenever faces are visibly asymmetric (most are), because each lens is mounted independently of the other.
Step 6.1: Place the Center Mark (vertical line)
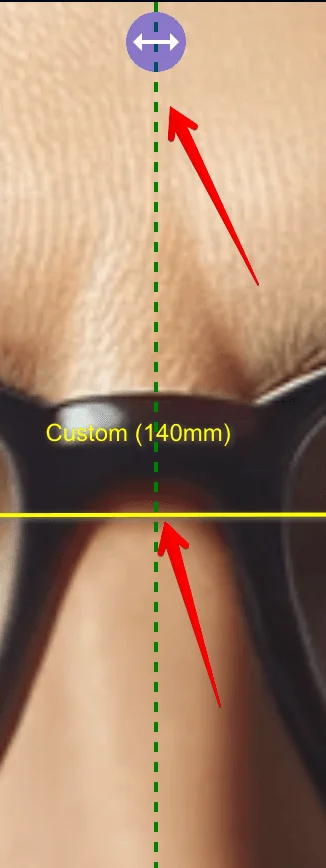
Then position the vertical line precisely in the center of the nasal bone, between the eyes. The position can be adjusted.
Step 7: Determine Segment Height (SH)
If the patient is wearing their frame in the photo:
- Click the “base” button.
- Use the mouse to align the horizontal line with the bottom edge of the frame. This action measures the Segment Height (SH), important for multifocal lens placement.
SH only applies when the patient is photographed wearing the chosen frame, since the measurement is from the bottom of the lens cut to the pupil center. If the patient is not wearing the frame, skip this step and see how to approach fitting height without the physical frame for fully remote orders.
Step 8: Measure PD, Dual PD, and SH
Once all points are correctly set, press the “calculate” button. Optogrid will now compute the PD, Dual PD, and SH based on your inputs.
Step 9: Verification
Double-check the measurements before saving. For adults, binocular PD typically falls between 54 and 74 mm; monocular Dual PD values for each eye should be within 1-2 mm of half the binocular PD. If either value falls outside these bounds, re-mark the pupils or re-shoot the photo. In practice, an out-of-range reading more often traces back to the reference object sitting slightly out of the photo’s plane than to a mismarked pupil, so it is worth rechecking the reference placement first.
Step 10: Save and Proceed
After verifying the accuracy of the measurements, save them to the patient’s profile. You are now ready to proceed with the eyewear order, equipped with precise measurements for a perfect fit.
See the full walkthrough video for a recorded demonstration of the workflow above. If you need to interpret the prescription before entering the order, see how to read the prescription. For occupational orders, confirm the frame meets prescription safety glasses compliance requirements before proceeding.
Frequently Asked Questions
What if the patient isn’t wearing the frame in the photo?
PD and Dual PD can still be measured without the frame in the photo. SH cannot, because the measurement requires a visible frame edge to align with. If SH is needed, re-shoot the photo with the patient wearing the chosen frame before proceeding to Step 7.
Why does the photo need to be taken from 1 meter away?
Closer shots introduce perspective distortion: the nose appears larger relative to the eyes, which biases the PD calculation. Shooting from 1 meter flattens facial geometry enough to produce reliable measurements while still capturing the detail needed for accurate pupil marking.
When should I use Dual PD instead of binocular PD?
Dual PD (monocular) is required for progressive lenses and recommended for high prescriptions or visibly asymmetric faces, where small PD errors shift the optical center and add unwanted edge thickness in the finished lens. Binocular PD alone is acceptable for low-prescription single-vision lenses where precise monocular centration is less critical. See monocular vs. binocular PD for a full comparison of the two measurements.
What reference objects can I use besides a credit card?
Any object with a known width in mm works. A standard credit card is 85.60 mm wide (ISO/IEC 7810 ID-1), which is why it is the default preconfigured reference. A frame’s known temple width or any custom-sized object is equally valid, as long as it is held in the same plane as the patient’s face.
How accurate are the measurements?
Accuracy depends on photo quality, reference-object placement, and pupil-marking precision. When these conditions are met, the workflow performs in the same range as other PD measurement methods and is designed to support the ANSI Z80.1-2015 monocular PD tolerance of ±1.0 mm required for progressive lens fitting. Optogrid does not publish an internal accuracy figure independent of these input conditions.

I grew up inside an optical shop. My mother likes to tell how, as a kid, I would watch eyeglasses being assembled, play with the tools, and draw on the back of service order slips. The family business taught me early what a precise measurement and work done right are worth.
I went on to spend more than twenty years as a software engineer, always keeping an eye on the optical world. Optogrid was born where the two meet: digital measurement technology (pupillary distance and fitting heights) built by someone who knows the dispensing counter from the inside.